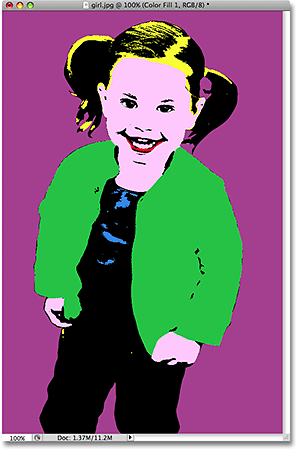
And here’s the pop art effect we’re aiming for:

Step 1: Draw A Selection Around The Main Subject Of Your Photo

Step 2: Copy The Main Subject Onto A New Layer
:


Step 3: Add A Solid Color Fill Layer Below The New Layer
![]()

This brings up Photoshop’s Color Picker. Go ahead and choose any color you want right now for the background. It doesn’t matter which color you pick because, as we’ll see later, you can always go back and choose a different color any time you want. I’m going to choose a light blue for now:


And I can now see in my Layers palette that I have a solid color fill layer between my Background layer and the “threshold” layer:

Step 4: Use The Threshold Adjustment To Remove The Detail From The Main Subject


Step 5: Select The First Area Of Your Subject To Colorize And Copy It To Its Own Layer
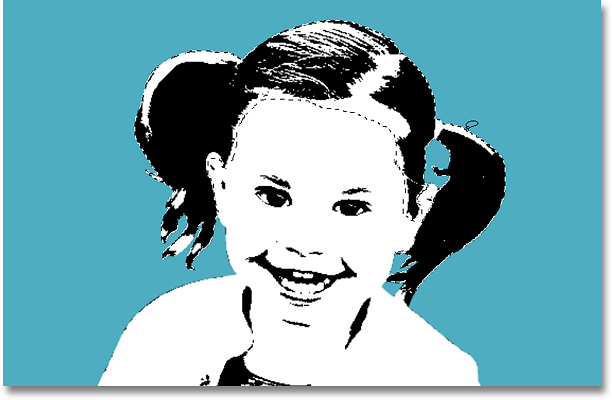


Step 6: Continue Selecting All Areas And Copying Them To New Layers

Step 7: Colorize Your First Section With A Solid Color Fill Layer
![]()
Then, while still holding Alt/Option, select Solid Color from the top of the list:

Also, make sure you select the Use Previous Layer To Create Clipping Mask option this time:


Step 8: Change The Blend Mode Of The Solid Color Fill Layer To Multiply

Now the black areas in her hair are visible once again:

Step 9: Continue Adding Solid Color Fill Layers For Each Section
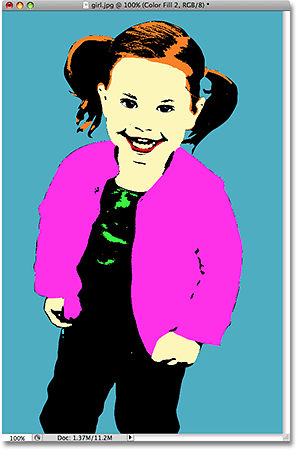
The pop art effect is now complete, and the nice thing is, I can now go back and change any colors I want, as we’ll see next.
Step 10: Change Any Colors You Want Whenever You Want

This will bring the Color Picker back up. Choose a different color, and then click OK. You can change any or all of the colors in the image whenever you want. I’ll go ahead and change all of the colors in my image.
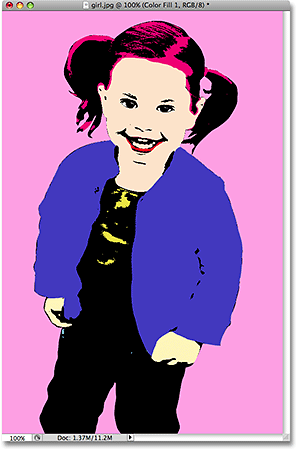
And again, here’s the same image with different colors:
