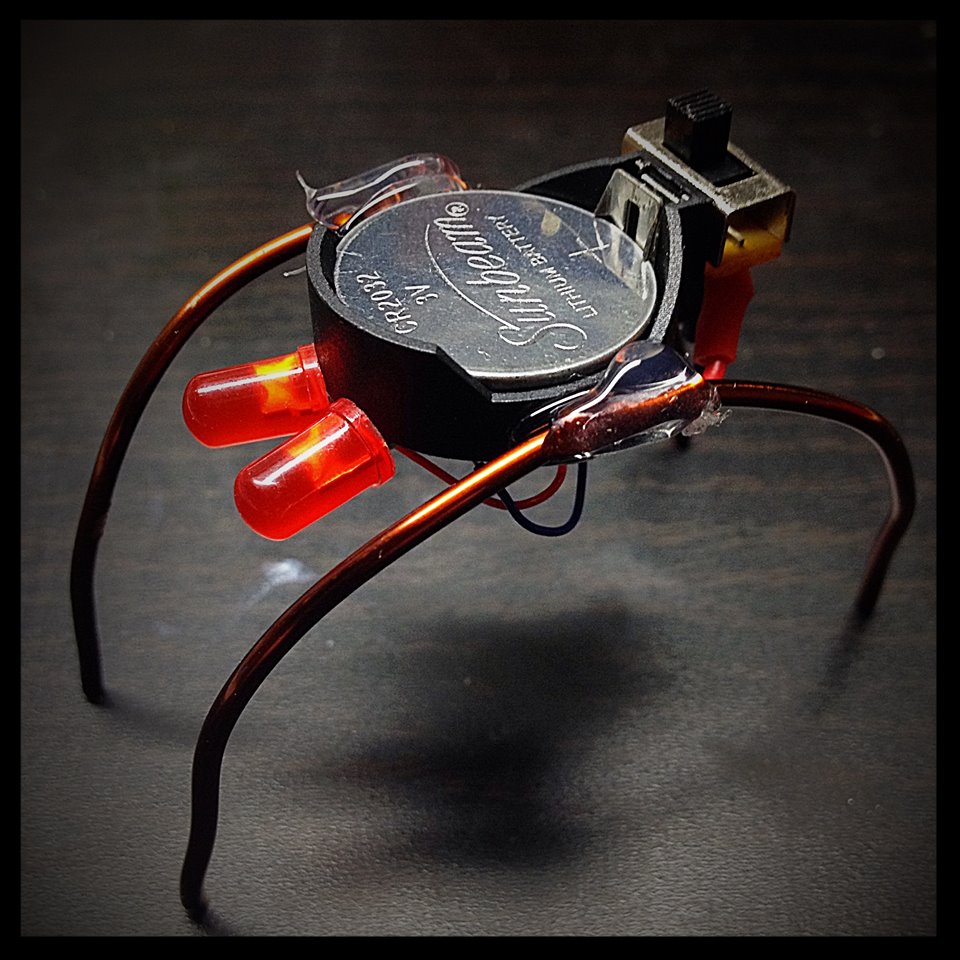
I recently built these two tiny robots from coin cell batteries. I love the coin cell battery holders because they let me solder a permanent connection to the pager motor. My red-eyed bot actually has a switch, which I salvaged from some old electronics. Some helping hands and a magnifying glass made the soldering fairly simple. This robot was made possible after viewing How to Make a Mini Bug Robot.
Coin cell robot with glowing red eyes.
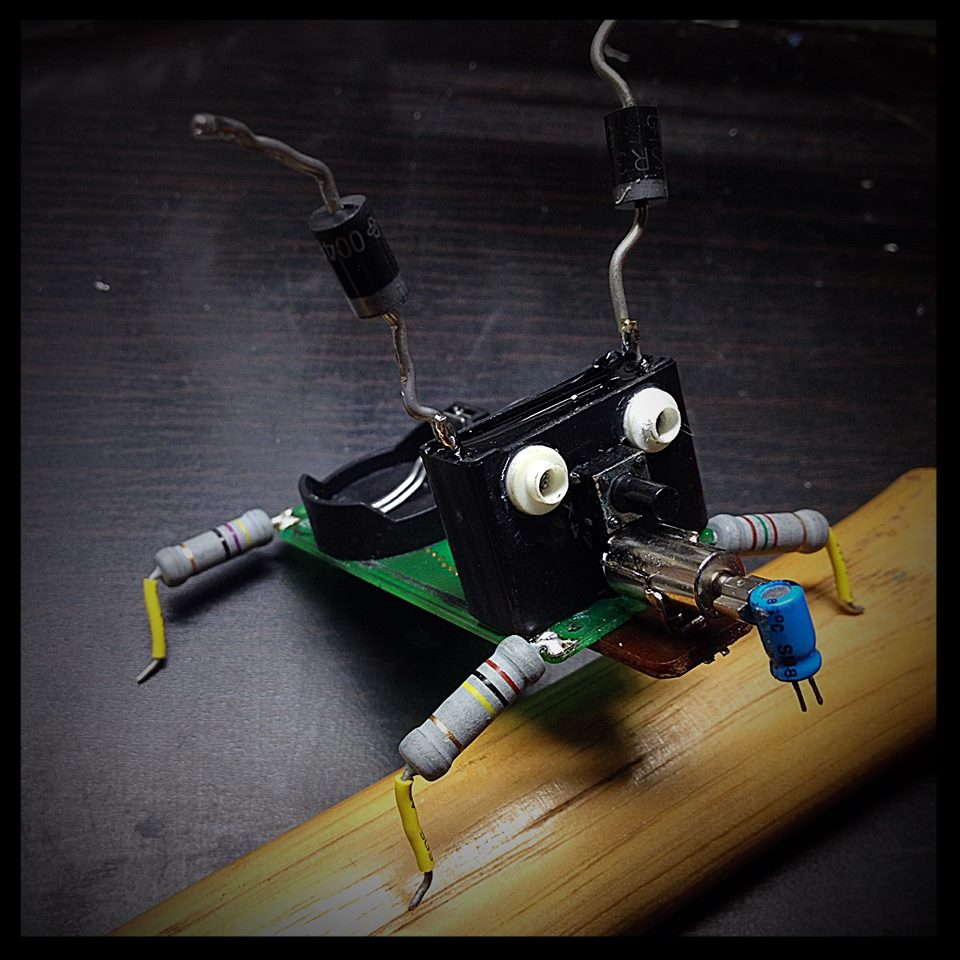
Lenny, shown below, is made from electronic components I salvaged from a variety of e-waste items. His body is built from a printed circuit board taken from the inside of a kid’s calculator. While Lenny lacks a switch, he makes up for it in character.
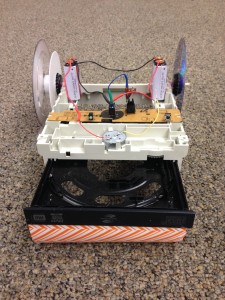
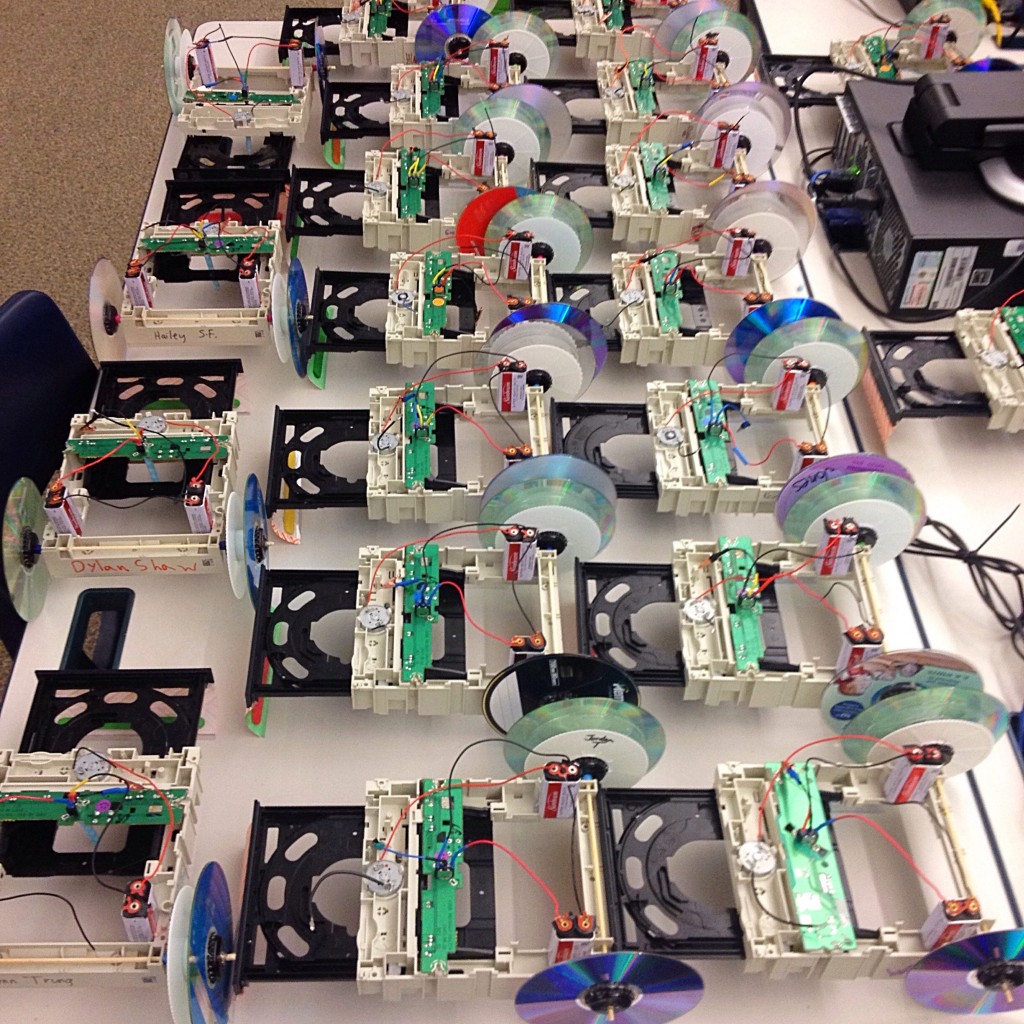
Mention the word “bot” and you’ll get a large crowd of kids gathering around you. This was the case in my elementary school computer lab. The kids were so interested in robots, they practically beat down the door with requests for after school classes focused on building robots. They’d stop me in the hallway to ask if I had sign-up flyers ready to hand out. Luckily, my school site tech kept me supplied with outdated technology from our surrounding schools. So, I had a large supply of DVD drives waiting for transformation. I searched YouTube and came across this fabulous project from #GrandadIsAnOldMan.
I studied the video and prototyped a similar version for the kids. I elected to solder the students’ wires to their switches, giving them a reliable connection. With almost 30 kids taking the class, this resulted in several long nights in the classroom–something similar to Santa’s workshop, but with one exhausted elf.
A parking lot of crawlerbots.
I used Radio Shack’s SPDT Mini Toggle Switch #275-0635. I wanted the wiring to be easy for the kids, so I decided to use 9V battery snap connectors, cutting open the vinyl cap and then cutting the positive and negative connectors apart. I also added a tiny alligator clip to help with on/off.
I jazzed up the front of the robot by applying a section of decorative duct tape to the plastic section from the soda bottle. Behind the plastic, toward the bottom, I glued a popsicle stick horizontally, thinking it would make the lower section more rigid and might help the bot move more efficiently. Here’s a video of my bot in action.
I learned this the hard way: make sure you extend the DVD’s tray forward before hot gluing the batteries in place; otherwise, the glue will flow down through the holes below, cementing both parts together. You will then have to drill out the excess glue to separate the parts. ↩